

There's two black Phillips screws on the back, remove those with before any prying.
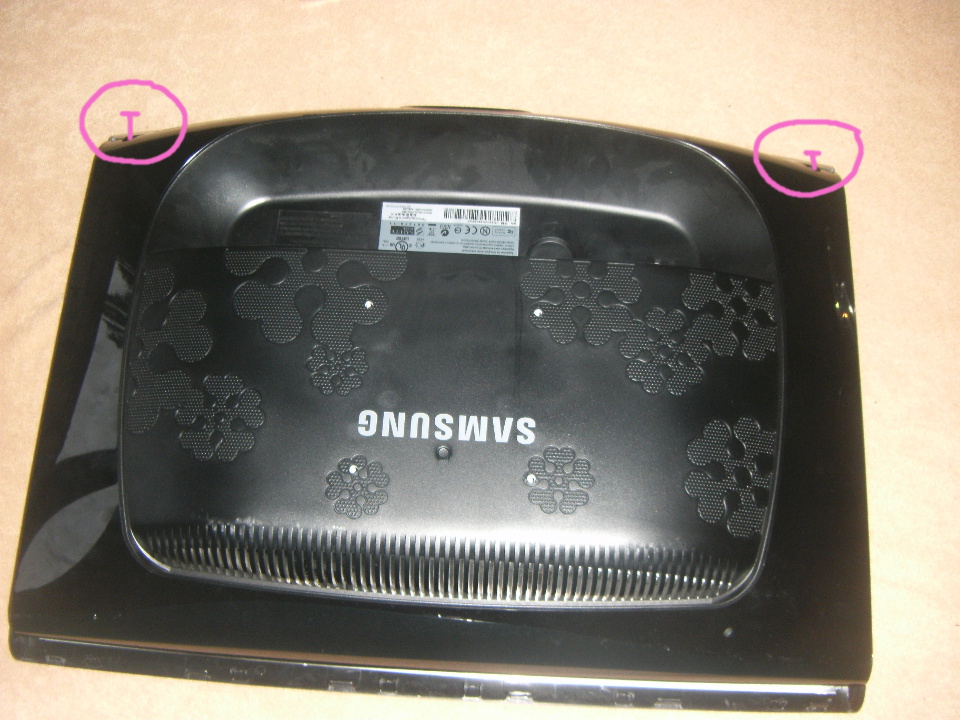
Grab your flathead and start prying the shell open on the upper edge as pictured below
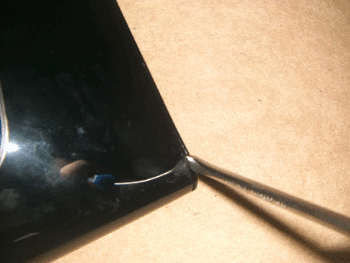
Do it on both sides, from upper side, slowly to the bottom -
! DO NOT FORCE THE LOWER BOTTOM PART YET
! PAY EXTRA ATTENTION TO FRAGILE CABLES WHERE THE DISPLAY BUTTONS ARE
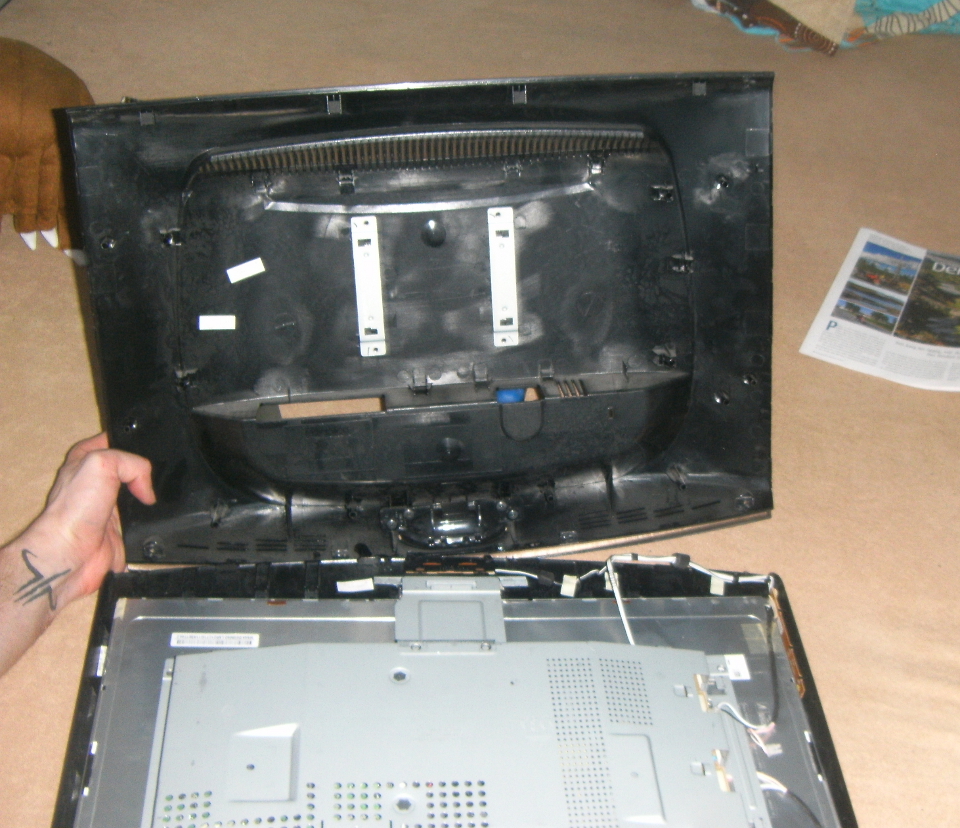
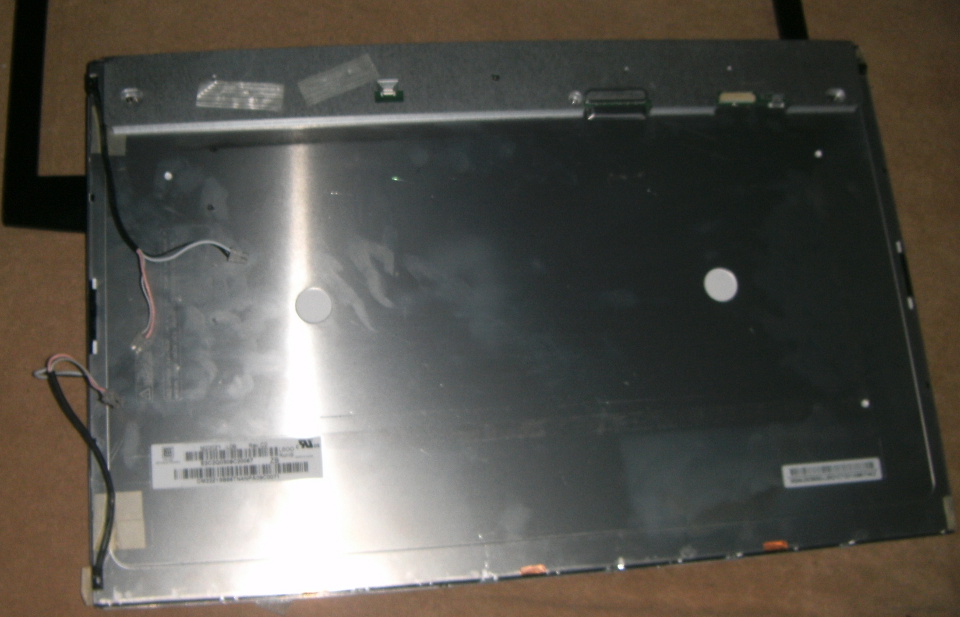
When both sides and the upper part have successfully unstuck, flip the display and remove the backside, you should be greeted with the back side of the guts.
The reason why you shouldn't mess too much with the lower bottom is because you might bend the clip holding it together, picture below
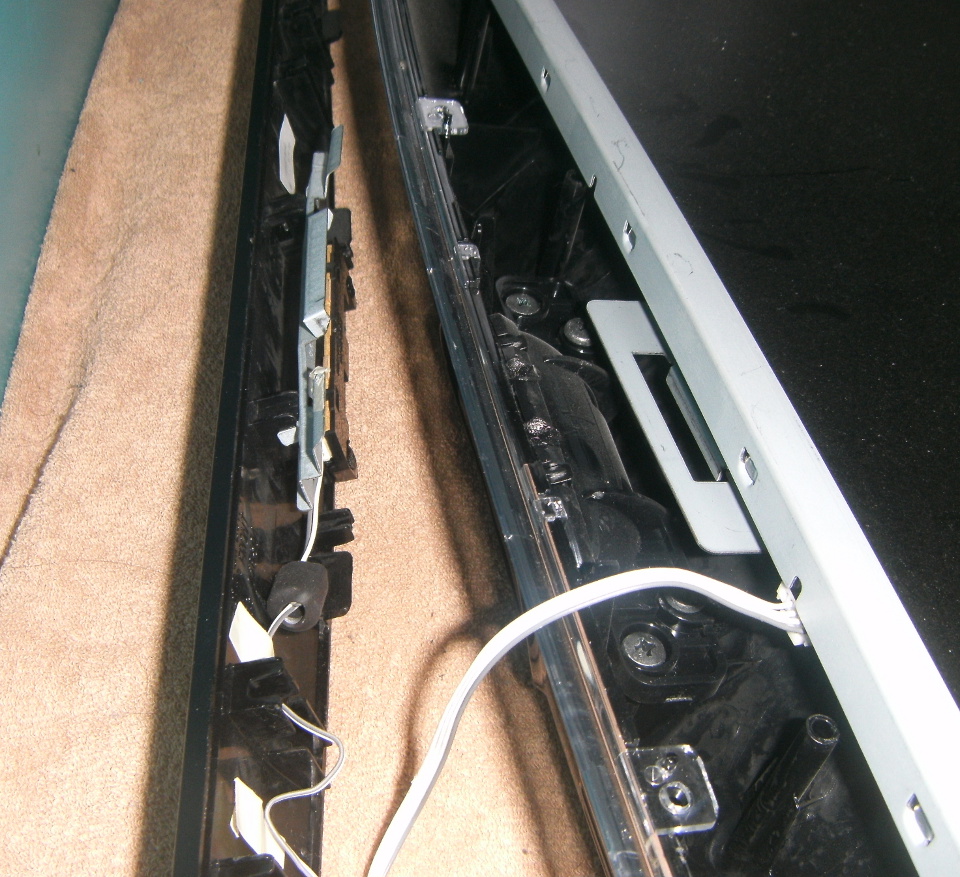

There's a few cables that you can remove intuitively, some are "hidden" beneath this steel pieces
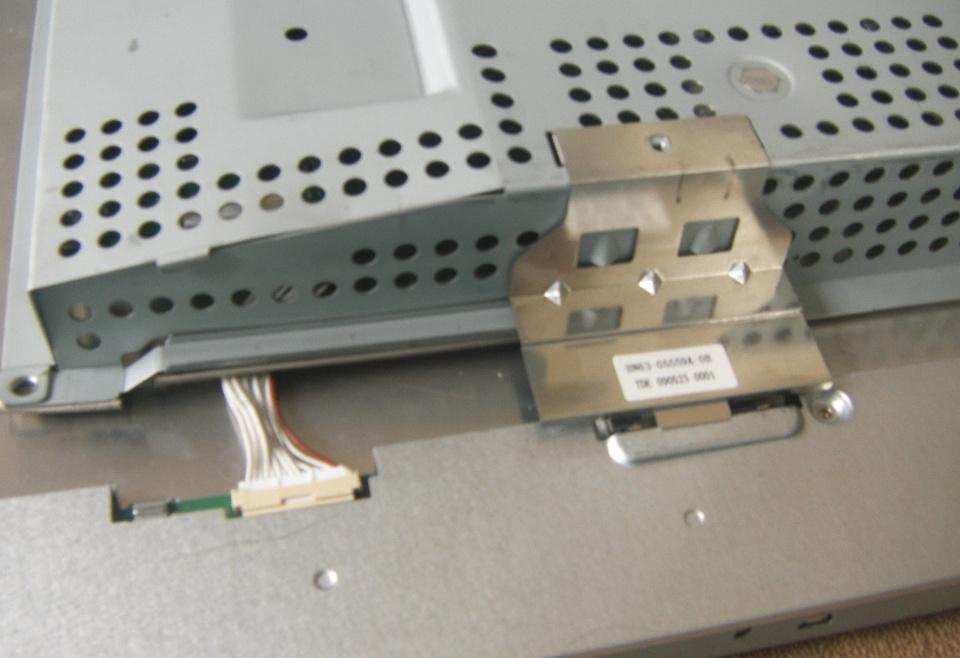
The clips are fragile, careful when detaching them
.JPG)
.JPG)
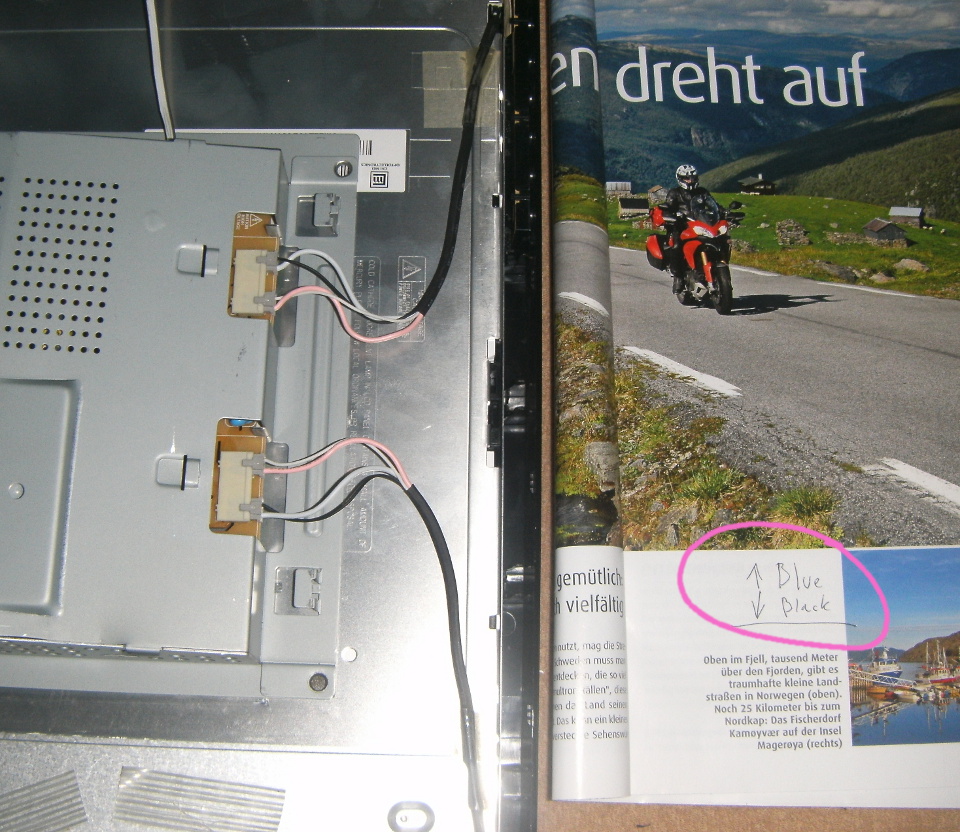
If you're feeling lazy, write down the cable sequence for this part (it says blue/black because of my replacement)
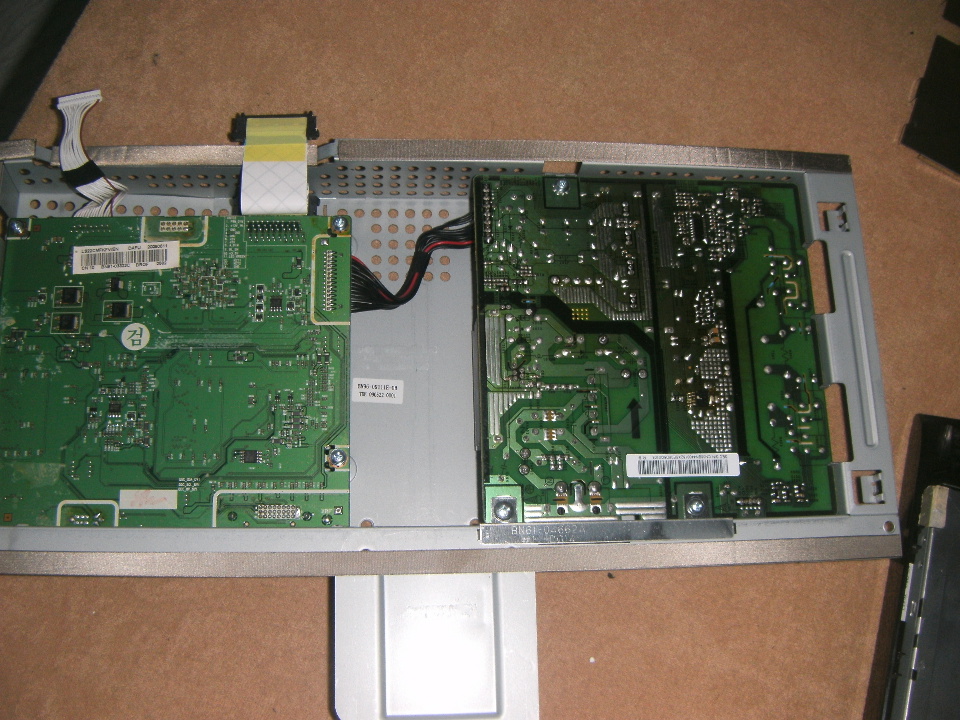
Now that we've cleared the cables, you can flip the guts, removing them panel from the guts in the process.
Inspect for signs of burns, you'll notice a brownish tint, maybe even a distinctive smell. Here's an image of an obviously burnt chip. This is some hardcore NSFW robot gore.
.JPG)
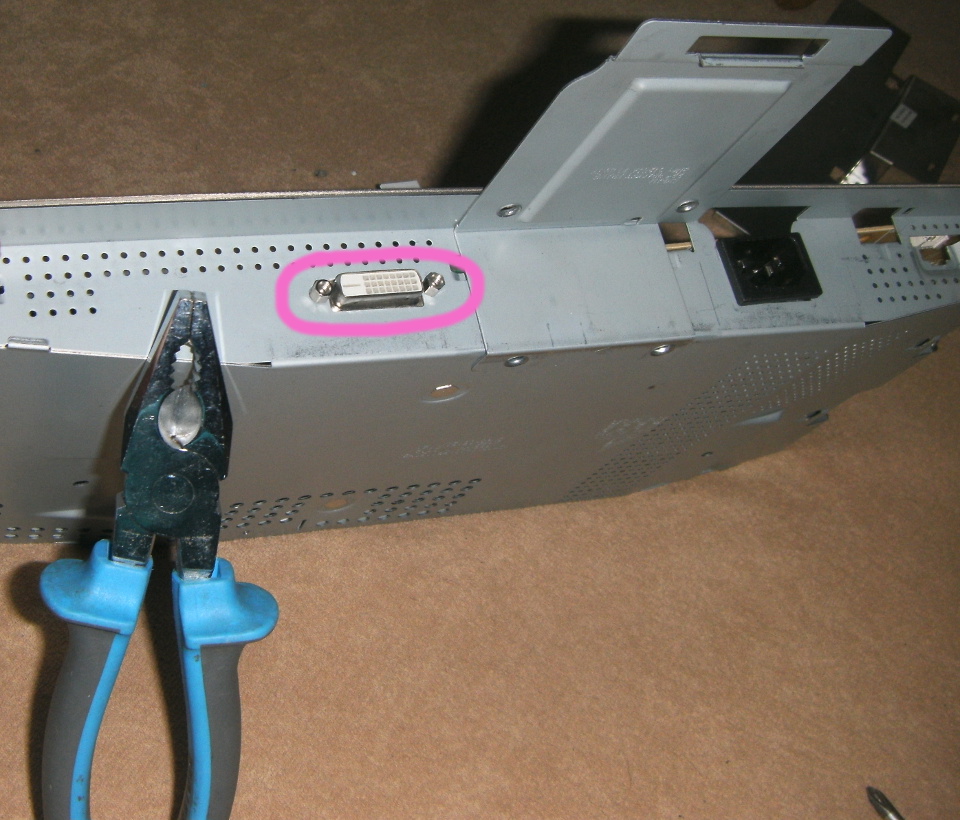
Use the Phillips screwdriver and remove the visible screws, don't forget about this two on the back, trust me, you won't be able to pull the guts out without removing them first.
Some NSFW images, capacitors etc (capacitor values can be found here
.JPG)
.JPG)
.JPG)
And a few images of the infamous M220Z1-L09 panel
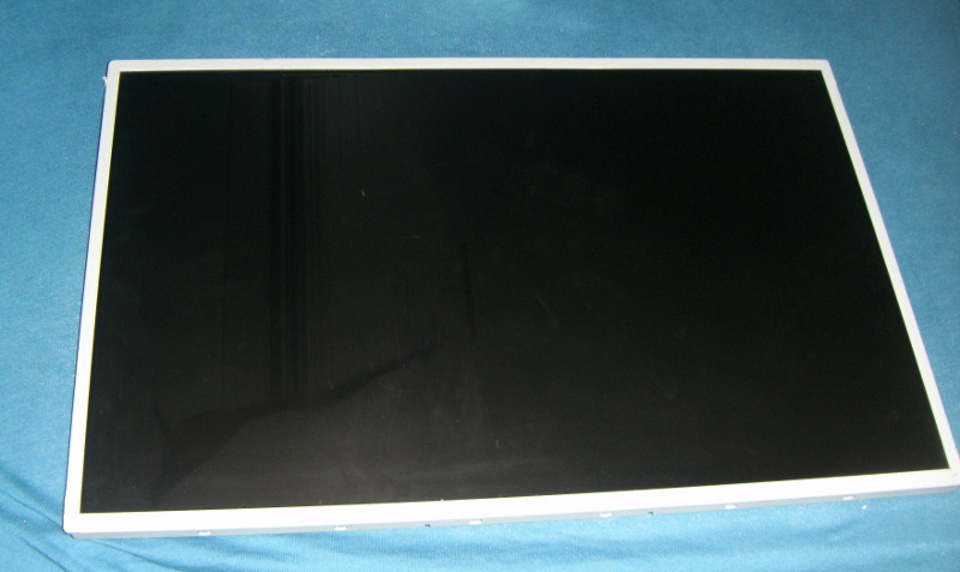
(broken)
Now just read the thread from the bottom to top and you'll be able to assemble it with your new parts
Grab your flathead and start prying the shell open on the upper edge as pictured below
Do it on both sides, from upper side, slowly to the bottom -
! DO NOT FORCE THE LOWER BOTTOM PART YET
! PAY EXTRA ATTENTION TO FRAGILE CABLES WHERE THE DISPLAY BUTTONS ARE
When both sides and the upper part have successfully unstuck, flip the display and remove the backside, you should be greeted with the back side of the guts.
The reason why you shouldn't mess too much with the lower bottom is because you might bend the clip holding it together, picture below
There's a few cables that you can remove intuitively, some are "hidden" beneath this steel pieces
The clips are fragile, careful when detaching them
If you're feeling lazy, write down the cable sequence for this part (it says blue/black because of my replacement)
Now that we've cleared the cables, you can flip the guts, removing them panel from the guts in the process.
Inspect for signs of burns, you'll notice a brownish tint, maybe even a distinctive smell. Here's an image of an obviously burnt chip. This is some hardcore NSFW robot gore.
Use the Phillips screwdriver and remove the visible screws, don't forget about this two on the back, trust me, you won't be able to pull the guts out without removing them first.
Some NSFW images, capacitors etc (capacitor values can be found here
And a few images of the infamous M220Z1-L09 panel
(broken)
Now just read the thread from the bottom to top and you'll be able to assemble it with your new parts